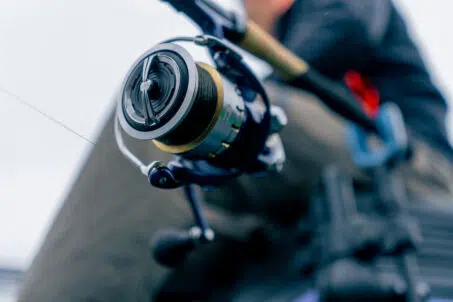
To create a fishing rod that’s not only functional but also a work of art, it’s crucial to have a well-equipped toolbox. The right consumable rod making supplies can make all the difference in crafting a rod that stands the test of time and the elements. These are the items you’ll find yourself using and replacing as you embark on new projects or maintain and repair existing rods.
In this article, we’ll explore some essential consumable supplies every rod builder should have on hand. From the threads that add personality and strength to your rods, to the epoxies and glues that hold everything together, and finally to the finishes and sealers that protect and enhance the rod’s appearance, we’ll cover the basics to ensure you’re prepared for your next rod building endeavor.
Essential Consumable Supplies
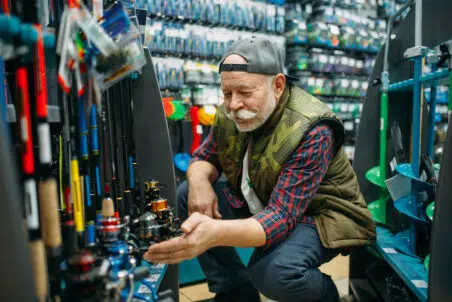
When you’re diving into the world of rod building, having the right consumable supplies in your toolbox is key to crafting something both functional and beautiful. These supplies are the items you’ll use up and replace over time as you build and repair rods. Let’s walk through some of the essentials, making sure you’re prepared for your next project.
Thread For Wrapping Guides
Thread is super important in rod building because it’s what you use to secure the guides to the rod. Choosing the right thread can make a big difference in how your rod looks and performs.
There are mainly two types of thread you’ll come across: nylon and silk. Nylon is the most popular because it’s strong and durable. It also comes in a wide range of colors, so if you’re looking to add a bit of personality to your rod, nylon’s got you covered. The cool thing about nylon thread is that when you add a clear coat finish over it, the thread can become transparent or change color slightly, giving the rod a really sleek look.
Silk thread is the more traditional choice. It’s thinner than nylon, which some builders prefer for a more classic or refined look. The downside? Silk can be a bit more expensive and might not be as durable as nylon in the long run.
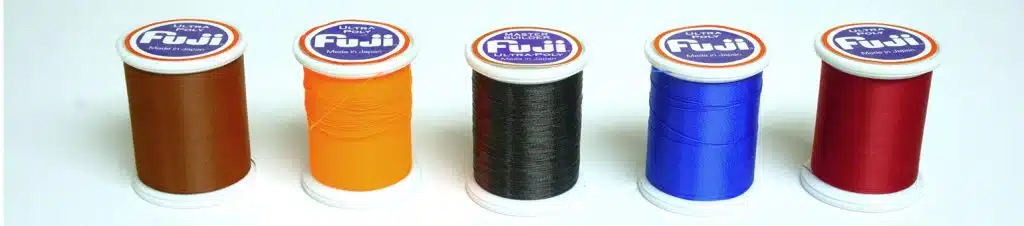
When you’re choosing thread, think about the thickness too. Threads come in different sizes or diameters. Thicker threads can make wrapping easier and quicker since they cover more area, but they might also make the wraps look bulky. Thinner threads give you more control and a finer finish but can be a bit trickier to work with and take more time to wrap.
In addition to fastening guides to the blank, decorative thread wraps can also be used to add mesmerizing, colorful patterns to your blank. While treadwork can be painstaking, it’s a skill anybody can learn if they’re willing to commit the time, and if they have the right resources.
Epoxies And Glues
Epoxies are super important in rod building because they’re used for two big jobs: coating the thread wraps and gluing the rod components together. There are generally two types of epoxy you’ll need in your toolbox.
The first is thread epoxy, which is specially formulated to coat the thread wraps on your guides. It’s designed to be flexible enough so it won’t crack when the rod bends, but also tough enough to protect the thread from water, UV rays, and scratches. This epoxy usually comes in two parts: a resin and a hardener. You mix them together just before you use them, and then you have a little bit of time to apply it before it starts to set. It dries clear, making your thread work look shiny and protected.
You’ll also need a rod building epoxy. This kind of epoxy is used to glue the rod blanks to the reel seats, handles, and other components. It’s super strong and designed to handle the stress and strain a fishing rod goes through. Like the thread epoxy, it usually comes in two parts that you mix together. This epoxy has a longer working time before it sets, which is great because it gives you time to adjust your components and make sure they’re exactly where you want them before the glue dries.
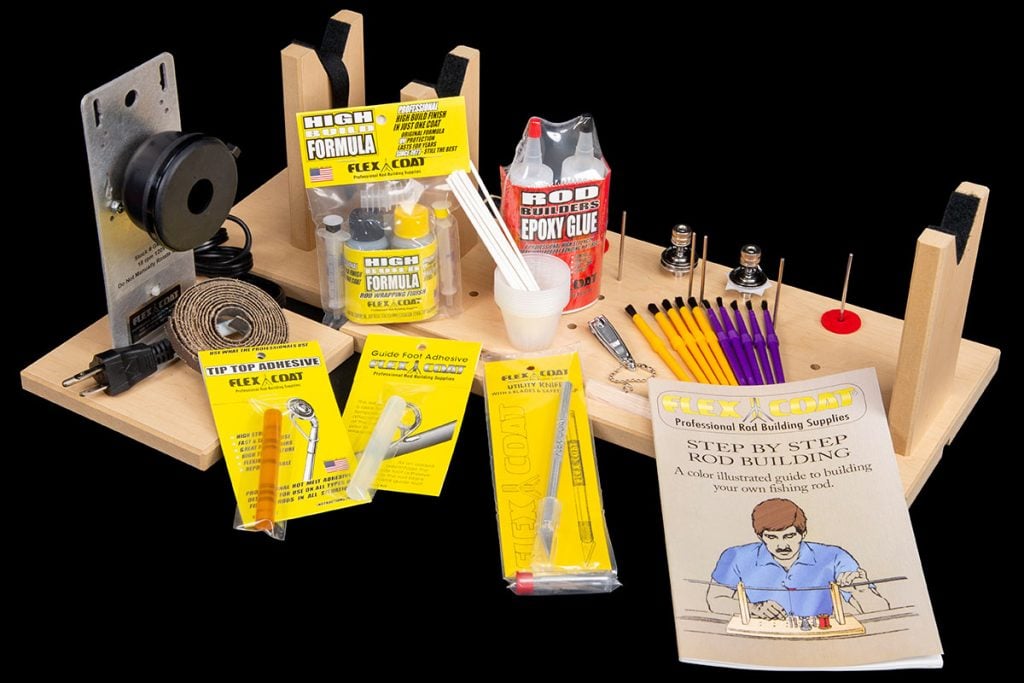
Now, onto glues. In rod building, you might also use different types of glue for specific tasks. For example, super glue (cyanoacrylate) can be handy for quick fixes or for securing small parts temporarily while you work. It’s not as strong or durable as epoxy for long-term use, but it’s great for a quick hold.
Choosing the right epoxy or glue can depend on what you’re working on. For instance, if you’re working in a cooler environment, you might want a formula with a longer cure time to give you more working time. On the flip side, if you’re in a hurry, you might opt for a quick-cure epoxy, keeping in mind that you’ll need to work faster.
One last tip: Always make sure you’re working in a well-ventilated area when using these products, and follow the safety instructions to the letter. Safety first, always!
Finish And Sealers
Sealers are all about protecting the rod itself, especially if you’re working with a natural material like bamboo or a porous material like some handle materials (cork or certain woods). A sealer can be applied to these parts of the rod before the final assembly to prevent water from getting in and causing damage. For bamboo rods, a sealer helps maintain the integrity of the bamboo fibers. For cork handles, it can help prevent staining and wear from the oils on your hands and from the environment. There are various types of sealers out there, including some that are specifically designed for rod building and others that are more general wood sealers but can be used on rods as well.
The key with both finishes and sealers is to apply them correctly. You want enough to protect the rod, but not so much that it looks gloopy or affects the rod’s performance. With finishes, especially, it’s important to apply them in a dust-free environment and to allow them enough time to cure fully before you use the rod. This can sometimes take several days, depending on the product and the conditions.
In a nutshell, finishes and sealers are your final defense against the elements and the rigors of fishing. They keep your rod looking awesome and performing well, so you don’t have to worry about your hard work getting damaged the first time you take it out.
Organizing And Storing Your Rod Making Supplies
As you assemble a collection of supplies, keeping it organized becomes paramount. Organizing and storing your rod building supplies properly is like having a tidy kitchen when you’re cooking a big meal. It makes everything smoother, and honestly, it just feels good to know where everything is when you need it. Before we conclude, let’s talk about some ways you can keep your rod building gear in order so you’re not scrambling to find things when you’re in the middle of a project.
Having a dedicated work area is super helpful. This can be a desk or a workbench where you can leave your rod wrapping station set up. If space is an issue, look for a fold-down table or a portable station that you can set up and take down as needed. Once you have a station set up, you can begin adding storage around it.
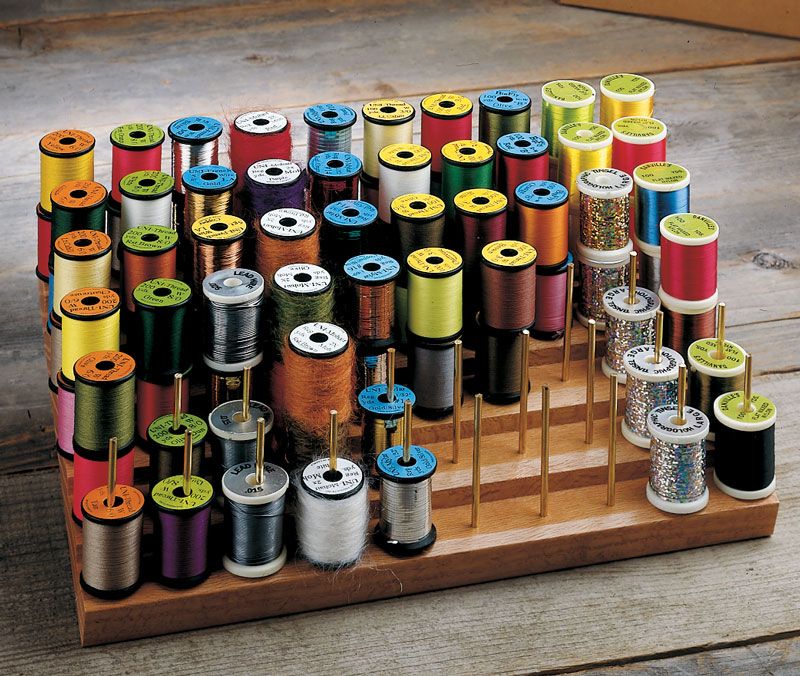
A spool rack or a pegboard with hooks can be a game-changer for organizing thread spools. You can see all the colors you have at a glance, and it keeps them from getting tangled.
Since glues and epoxies can be messy and sometimes toxic, you want to keep them in a place that’s safe and away from pets or kids. A cabinet with a lock or a high shelf can be a good spot. Make sure it’s also cool and dry to keep the chemicals stable and prolong their shelf life. Organize them in a way that you can see the labels easily, so you don’t grab the wrong one by mistake.
For tools like scissors, wrappers, and finish applicators, consider using toolboxes or drawers. Magnetic strips are also fantastic for metal tools. They keep your tools in view and easy to grab. Drawer organizers can help separate different tools and keep them from knocking around and getting damaged.
For small rod-building components like guides and tip tops, small parts organizers with drawers or compartments work wonders. You can find these in hardware stores, and they’re perfect for keeping small pieces sorted and easy to find. For rod blanks, using a rack system or even a modified bookcase can keep them upright and prevent them from getting bent or damaged.
Remember, the goal is to make your rod building process as enjoyable and efficient as possible. When everything has its place, you spend less time looking for things and more time building beautiful rods. Plus, it’s way more inviting to start a project when your workspace is organized and ready to go.
Final Thoughts On Rod Making Supplies
In this article, we’ve covered a lot of ground. From the threads that bring color and durability to your creations, to the epoxies and glues that form the unbreakable bond between components, and the finishes and sealers that offer the final touch of protection and aesthetic appeal, these materials are the backbone of any rod-building project. Each plays a pivotal role in transforming a simple rod into a functional piece of art that withstands the challenges of time and nature.