In the custom rod building world, epoxy isn’t just a finishing step — it’s where form meets function. It seals threadwork, protects components, and can either highlight a builder’s skill or expose every flaw. Yet despite its critical role, epoxy is one of the most misunderstood materials in the builder’s shop. Few understand this better than Andy Dear. A long-time industry insider, Dear’s career has spanned decades and disciplines — from pioneering Threadmaster in the 2000s, to developing adhesives for the custom knife world, and finally bringing it full circle with the design of Gen 4 epoxy, specifically engineered for modern rod builders.
In this expansive conversation, Dear breaks down the chemistry, misconceptions, and tradeoffs that define the epoxy game — from the myth of the “bad batch” to the real reasons why some finishes yellow. It’s a master class for builders who want to understand not just what epoxy does, but why it behaves the way it does.
A Legacy in Layers: From Threadmaster to Gen 4
Andy Dear didn’t set out to reinvent rod building epoxies twice. After selling his company in 2008, he stepped away from the industry. “I started playing golf again, deer hunting, spending time doing other things,” he recalls. But retirement didn’t last. His interest in adhesives followed him into the custom knife world, where new challenges — different substrates, new cure needs, extreme strength demands — forced him to keep learning.
Eventually, that experimentation led to products like Blade Bond and Fusion V-Max, the latter a 15-minute paste epoxy originally designed for knife scales. But it was a call from Scott Parsons — offering him the chance to buy back his old epoxy company — that got him thinking about rod finish again. Dear declined the offer, but Parsons’ observation stuck with him: “Nobody’s introduced a new guide wrap finish in ten years.”
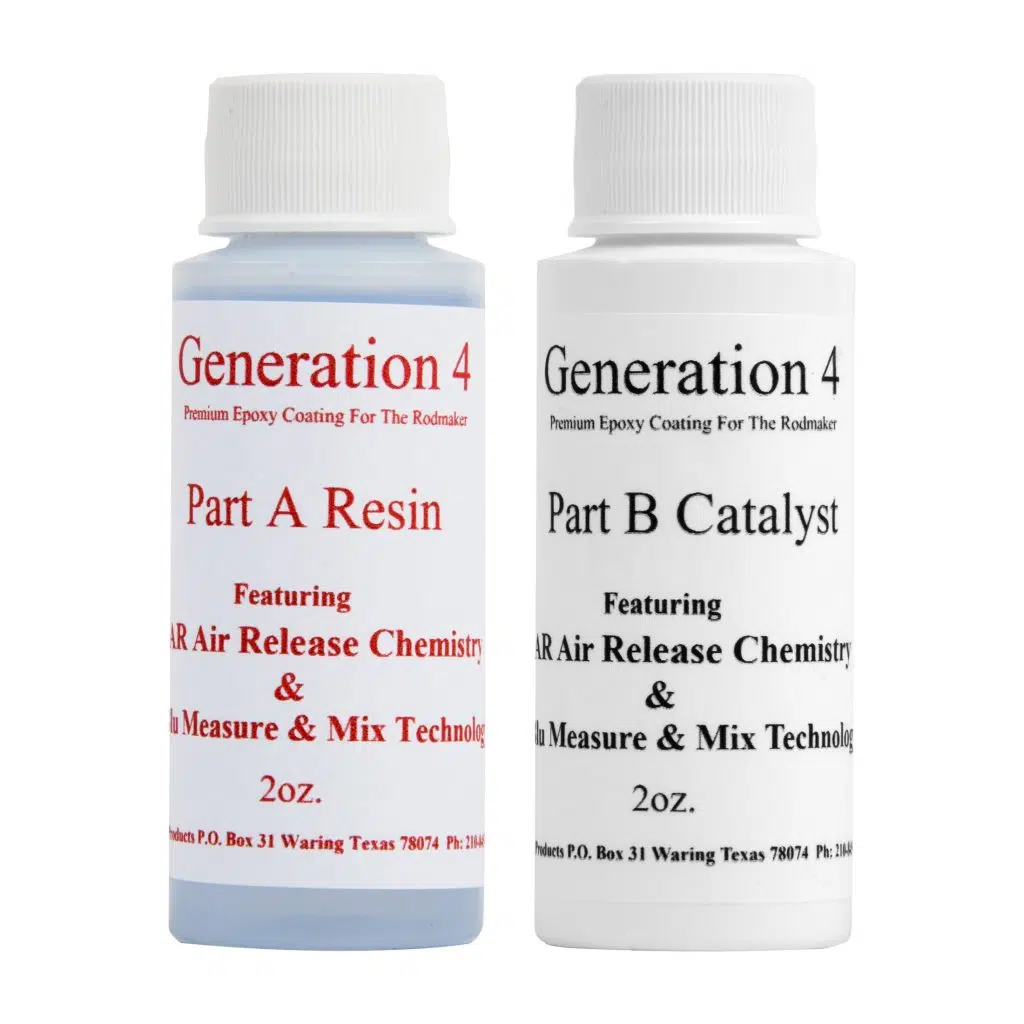
That comment sparked the genesis of Gen 4 epoxy.
Dear reached out to a chemical supplier he’d worked with on the knife side. One of the sales reps happened to be a fly fisherman. That connection opened the door to a new project — not just to improve on old formulas, but to re-engineer them for the modern rod builder’s environment.
Adhesives 101: What Builders Need to Understand
To understand where Gen 4 epoxy fits, it helps to revisit the types of epoxy rod builders use — and what separates them.
There are two main epoxy categories in this world: structural adhesives (used for handles, reel seats, etc.) and finishing epoxies (used for thread wraps and coatings). While the end-use differs, the underlying chemistry often overlaps.
The majority of structural epoxies — including both rod building adhesives and knife handle glues — are polyamide-based. These hardeners typically have a dark amber color and offer superior mechanical performance: high shear strength, excellent adhesion across substrates, and reliable durability.
Compare that to the quick-set stuff — the five- and fifteen-minute epoxies you’ll find at a hardware store. These usually use mercaptan-based catalysts (known in the industry as “rotten egg hardeners”) and offer little in terms of mechanical strength. They’re great for speed and convenience, not longevity or stress handling.
The challenge, Dear explains, isn’t just in knowing the difference — it’s understanding what’s actually required for rod building. “Yes, polyamides are more robust. But the question is: how strong does it need to be? If you’re gluing EVA grips, you don’t need aerospace shear strength.”
Sometimes, the performance advantages of a polyamide simply don’t matter. And in those cases, a well-formulated 15-minute epoxy like Fusion V-Max might be the perfect balance of usability and performance — with plenty of peel strength and flexibility for rod applications.
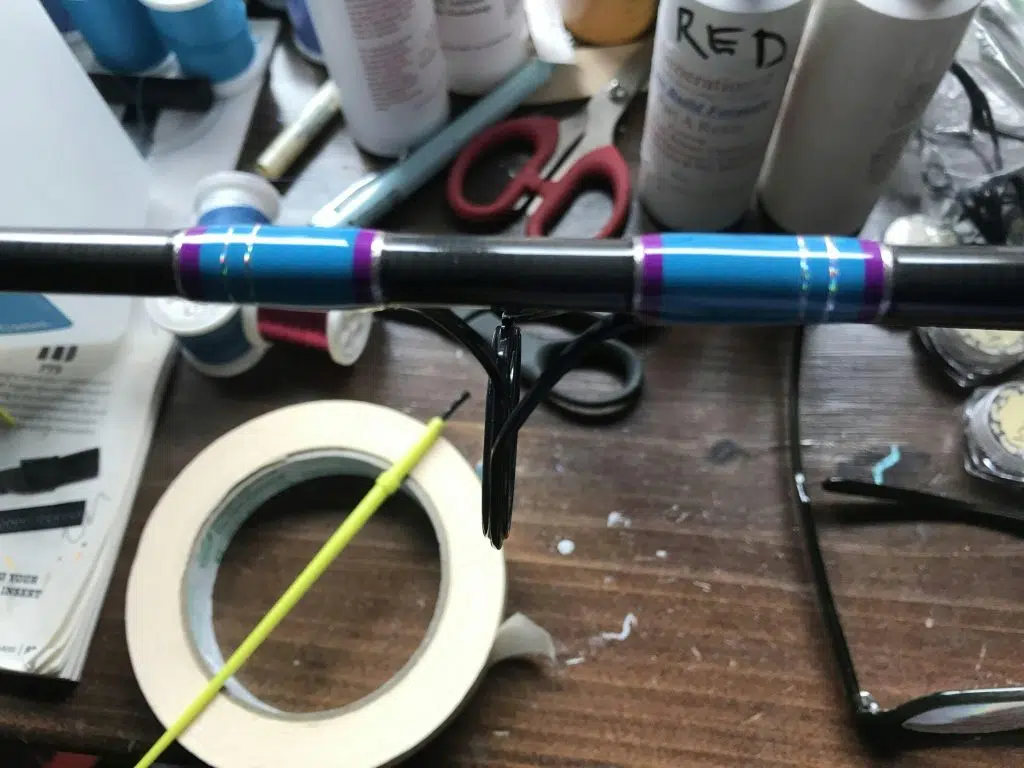
Bubble-Free Wasn’t the Plan — It Was the Breakthrough
When Dear first began exploring resins for a new thread finish, the results were underwhelming. The initial casting resin sample was thick, cured poorly under UV exposure, and just didn’t match the standards he was used to from Threadmaster.
But one feature caught his attention: the material released bubbles better than anything he’d ever seen.
That was the hook.
“I remember sending samples to you, Randy Emmerich, Tom Kaufmann, Kerry Batson,” Dear says to host Bill Falconer. “I didn’t tell any of you that the others were getting the same stuff. I wanted clean feedback. Every single one came back with the same verdict — ‘It’s not great… but man, does it release bubbles.’”
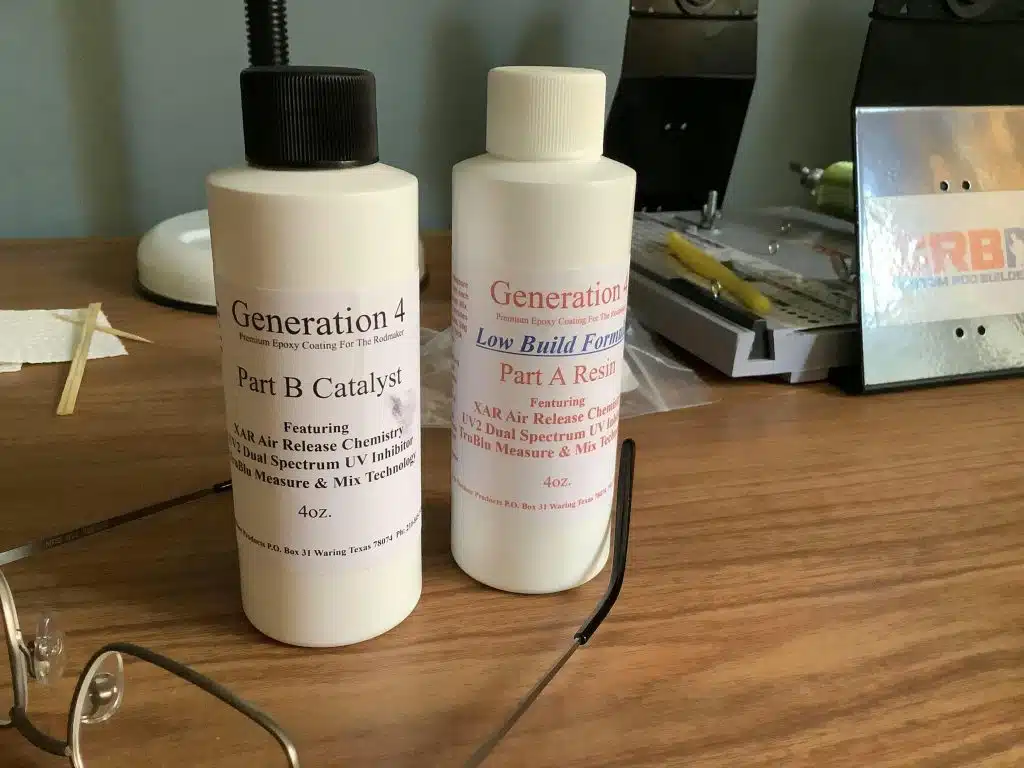
That bubble release behavior — known in formulation as “defoaming” — became the foundation for what would eventually become Gen 4. But it took more than a year of back-and-forth with a gifted chemist (also named Richard) to refine the material.
They adjusted viscosity, eliminated unnecessary dyes, and overhauled the UV resistance profile. That last step wasn’t easy. An early test with a UV lamp had initially shown promising results — until real-world sun exposure revealed that the UV inhibitors were targeting the wrong end of the light spectrum.
The fix? A completely new UV inhibitor package — one that turned the hardener yellow. But that was a tradeoff Dear was willing to make. “If you want an epoxy that won’t yellow over time,” he says, “you have to turn it yellow now.” The key was in keeping the mixed material water-clear. And in that, Gen 4 delivered.
The Yellow Myth: Clarity vs. Long-Term Color
One of the most common misconceptions in rod building is that clear epoxy in the bottle equals long-term clarity on the rod. The reality is often the opposite.
“The UV inhibitors that keep a finish from yellowing are themselves yellow,” Dear explains. “So if the hardener is crystal clear? That’s a red flag. That finish is probably going to amber over time.”
It’s why Gen 4’s hardener has a slightly yellow tint out of the bottle — but maintains optical clarity years down the line. That tradeoff is intentional. It’s chemistry, not aesthetics.
Builders who focus too much on the bottle color risk missing the bigger picture: real-world clarity is what matters. And in long-term side-by-side UV tests, Gen 4 consistently outperformed earlier formulas, including the well-regarded Threadmaster.
Measuring, Mixing, and the Myth of the “Bad Batch”
If there’s one theme Dear comes back to again and again, it’s this: most epoxy problems are user problems. Not chemical ones.
“The idea of a bad batch just doesn’t hold up,” he says. “These kits come out of 50–100 gallon drums. If there was a problem in the resin, the entire market would know. You’d have 10,000 bad kits, not one.”
Where things usually go wrong is in the mix.
Epoxy needs to be mixed precisely and thoroughly. Dear recommends a minimum of 3cc per part — not because it won’t cure in smaller batches, but because the margin for error shrinks dramatically. “If you’re off 1/10 of a milliliter in a 1cc mix, that’s a 10% error. If you’re off the same amount in a 6cc mix, you’re within tolerance.”
Thorough mixing is just as critical. Stirring should be slow, deliberate, and include frequent scraping of the cup sides and bottom. Pouring the mixed epoxy out onto a flat surface afterward helps dissipate heat and release trapped air.
And yes — Gen 4 epoxy can be heated. “I don’t know where that rumor came from,” Dear says. “But it’s not true. Gen 4 tolerates mild heat just fine — and in fact, most users report even better bubble release with a quick torch pass or warm bottles.”
Environment Matters: Blush, Humidity, and Heat
While mixing mistakes account for most epoxy issues, environmental factors can still play a role — particularly when working in cold or humid conditions.
One example is amine blush — a cloudy or greasy layer that can form on the surface of certain finishes under the right combination of low temperature and high humidity. It’s rare with modern formulas, but still possible with some older chemistries or poor curing conditions.
The fix? Warm, stable conditions (above 70°F), low humidity, and good airflow. “The best finish I ever got was in a 110-degree metal building in the middle of July,” Dear recalls. “Everything leveled perfectly.”
Cold shops and basements, on the other hand, can cause slow cures, tacky surfaces, or cloudy finishes. In those situations, moving the rod to a warm room is usually enough to restart the reaction and finish the cure.
Light Build vs. High Build: It’s About Technique
The debate between low-viscosity (light build) and thicker (high build) finishes is almost as old as rod building itself. But for Dear, the answer is simple: either can work, if you know what you’re doing.
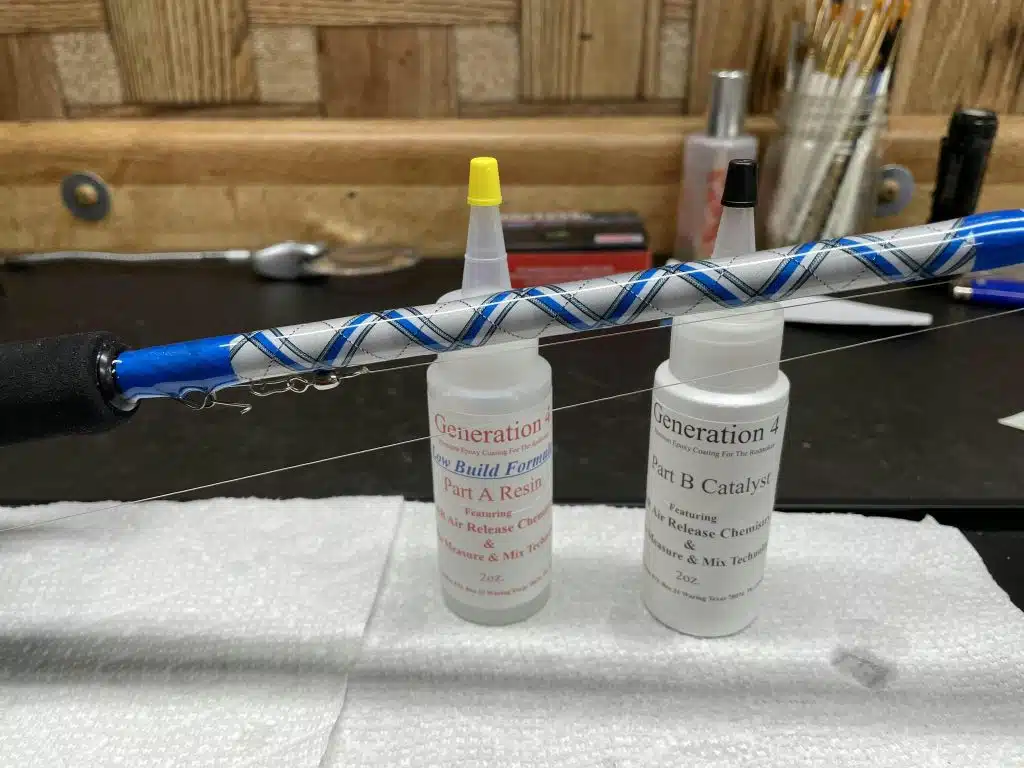
Gen 4 epoxy comes in both light and high build versions — though chemically, they’re nearly identical. The only difference is the use of a reactive diluent in the light build to reduce viscosity. That diluent doesn’t evaporate like a solvent — it becomes part of the cured resin.
Still, any builder can make high build behave like light build with proper technique — heat, leveling, and removal of excess epoxy can result in a glassy, micro-thin finish. “You can make high build look like it was sprayed on. You just have to know how to work it.”
Coats, Cure Times, and Cross-Linking
Another area that trips up many builders is recoat timing. How long should you wait between coats? And when does the second application become a separate “coat” rather than a continuation of the first?
According to Dear, anything within 24–36 hours is fair game. Gen 4 remains chemically receptive during that window, allowing for cross-linking between layers. After that, a light scuff with Scotch-Brite creates a mechanical bond.
“Lance Dupree recoats in four hours,” he notes. “I personally like to wait until the first coat is tack-free but still green. That way you get one cohesive coat, chemically bonded.”
If you’re beyond the window, no problem — just scuff it up. The epoxy will still adhere. But for optimal strength and appearance, understanding your timing is key.
Urethanes: Crystal Clear, But At a Cost
For builders obsessed with long-term optical clarity, urethane finishes seem like the holy grail. They don’t yellow. They flex. They can be water-clear.
But they’re also a nightmare to work with.
“Some of the urethanes I tested were so clear it looked like the jar was empty,” Dear says. “But they had zero tolerance for moisture. One humid day, and they’d bubble up like dish soap.
They also can’t be torched — the moment you apply heat, they flash, smoke, and cloud. Add short shelf life, poor availability, and high price points, and it’s easy to see why epoxy remains the industry standard. “Epoxy isn’t perfect,” Dear admits, “but it’s the best real-world solution we’ve got.”
Safety First: Gloves, Ventilation, and Allergic Reactions
Like any chemical product, epoxy demands respect. While Gen 4 has low VOCs and is safe for typical workshop use, prolonged skin exposure can lead to allergic dermatitis — an issue a few prominent builders have developed over time.
Dear recommends wearing gloves, working in well-ventilated areas, and minimizing direct contact with the resin and hardener. “I hand-pour every Gen 4 kit, and I always wear gloves now. It’s cheap insurance.”
Final Thoughts: Epoxy is a Tool — Learn to Use It
Ultimately, epoxy is neither magic nor mysterious. It’s a tool — and like any tool, its results depend on how you use it.
Gen 4 wasn’t developed to solve every problem. It was built to address the most common frustrations builders face: bubble release, yellowing, leveling, and recoat compatibility. But no finish can compensate for poor mixing, sloppy technique, or a 50-degree basement.
“If you have a problem,” Dear says, “it’s almost never the product. It’s you.”
That might sound harsh. But in the long run, it’s empowering. Because it means every builder — whether a weekend hobbyist or a full-time professional — has the ability to get perfect results. They just have to understand what the epoxy wants.
And in that, Gen 4 epoxy delivers something rare: not just performance, but forgiveness. And maybe that’s the best finish of all.
For more information on Gen 4 epoxy, including detailed usage guides and community support, visit www.gen4resins.com or join the Gen 4 Users Group on Facebook.