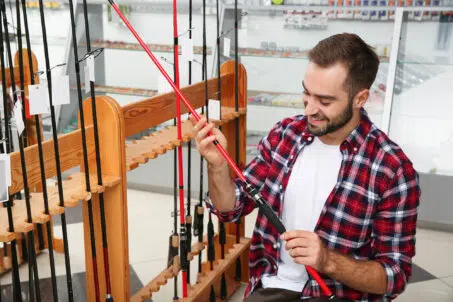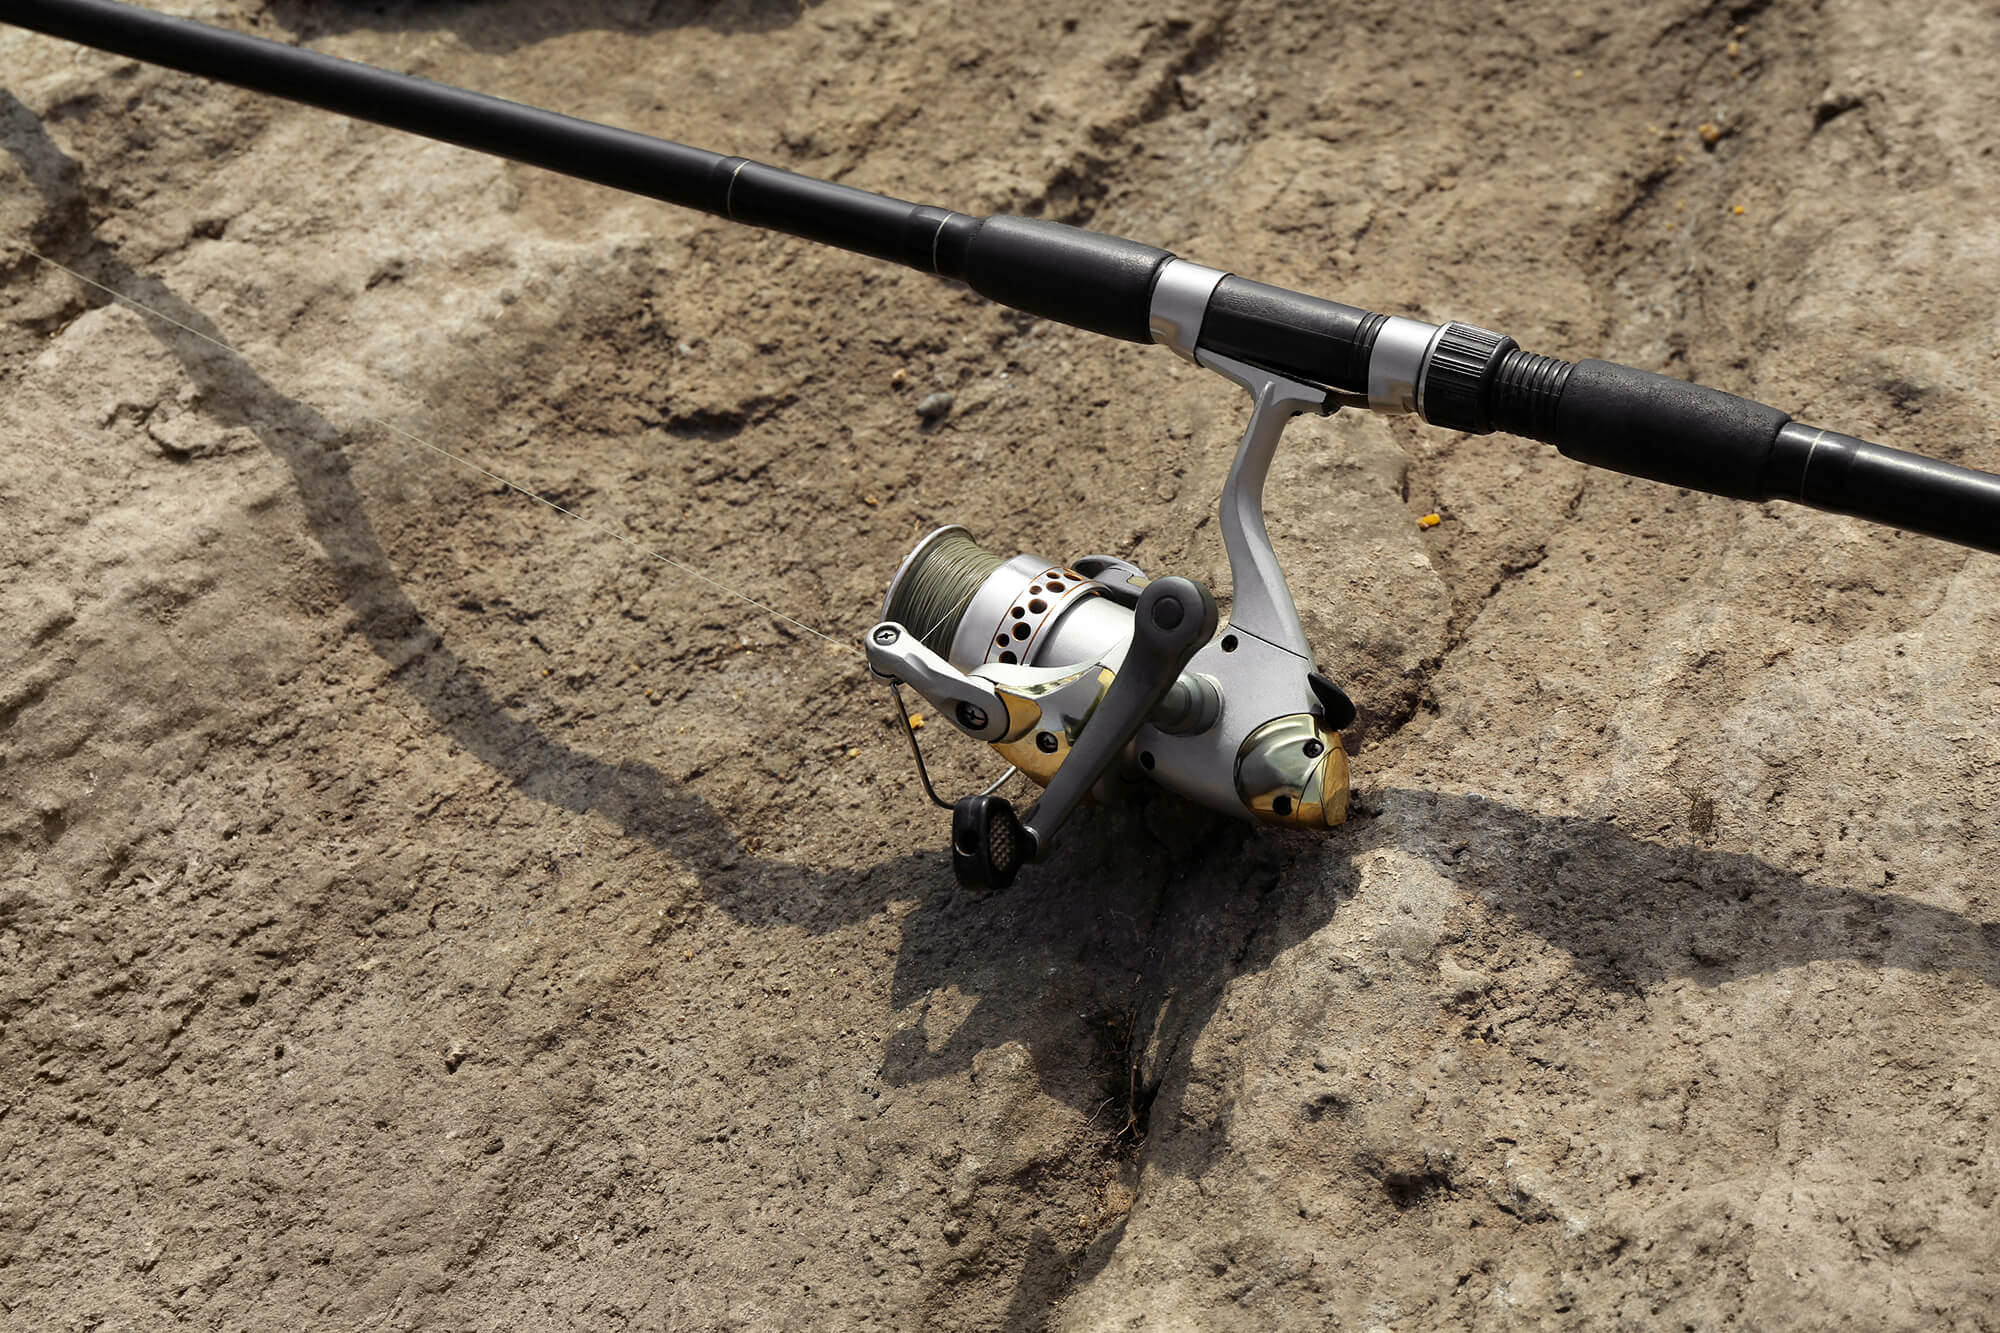
Two anglers can stand on the same beach and need very different rods. One may spend the morning walking and casting small plugs into moving water. The other may place a baited rig beyond the shore break and wait with the rod supported in a holder. Both are surf fishing, but the casting load, handling demands, reel arrangement, and useful component choices are not identical.
A surf rod setup makes sense when those choices serve the fishing being done. Extra length does not automatically solve a distance problem, a heavier power rating does not describe every aspect of strength, and expensive guides cannot compensate for an unsuitable blank or poorly positioned handle. The rod also has to remain manageable after the cast, while working a lure, retrieving a rig, and controlling a fish near shore.
For custom builders and specialist anglers, start with the conditions and presentation, then work back through the complete outfit. The aim is a rod that handles its regular workload comfortably, not one selected around the most demanding cast it might make once.
Decide how the rod will spend the session
Describe the main job before choosing a length or action. For a lure rod, identify the plugs, metals, or weighted soft plastics used most often and how they are worked. For a bait rod, consider the complete rig, the weight required to hold position, and whether the rod will be held or supported between casts. Include the intended fishing ground and the space available for casting.
Do not let the name of the target species settle the specification on its own. Fishing for the same species with a light lure and a substantial baited rig can create very different requirements. Ask which presentation dominates the session and which secondary uses are genuinely important. A rod intended to do both should be evaluated against both tasks rather than declared versatile from its label.
For a commissioned build, bring the actual reel and representative tackle into the discussion. That gives the builder something concrete to assess. It also helps identify a mismatch early, such as expecting a rod selected for repeated light presentations to handle a much heavier bait rig without compromise.
Count everything being cast
The casting load is more than the number molded into a sinker. Bait, hooks, swivels, clips, and the rest of the rig add to what the rod has to accelerate. With soft plastics, consider the complete assembled lure rather than the jighead alone. Weigh a representative setup when the total is uncertain, especially before choosing a blank near the upper end of its stated casting range.
Read the manufacturer’s rating carefully and clarify whether a recommendation refers to a lure, a sinker, or a sinker plus bait. Do not assume those descriptions are interchangeable. For example, a four-ounce sinker with one ounce of bait already represents five ounces before the remaining tackle is counted. That arithmetic is not a rod recommendation; it shows why checking only the sinker can understate the load.
Choose around the weights used regularly, while staying within the manufacturer’s guidance. A rod that can accommodate an occasional heavier presentation may still be an awkward choice for the lighter tackle used throughout most of the day. Likewise, changing the guide material does not raise the blank’s casting rating.
Different beach tasks lead to different priorities
Use the main fishing task to establish what deserves the most attention during selection and testing. These priorities are a planning aid, not fixed recipes. The exact blank, reel, line, and casting method still have to be checked as a complete combination.
| Fishing task | Main setup priority | Component detail to examine | Compromise to avoid |
| Walking the beach and casting lighter lures | Comfortable repeated casting and control of the usual lure weights | Grip reach, mounted-reel feel, and an appropriately sized guide train | Choosing a heavy bait outfit simply because it is labeled for surf use |
| Working larger plugs or metals | Matching the regular casting load and retrieve style | Blank rating, reel position, and clearance for the intended leader connection | Assuming the longest rod will be the easiest to cast or work |
| Fishing a baited rig from a holder | Managing the complete rig and the conditions in which it will be used | Handle and holder fit, reel security, and suitable line and leader arrangements | Evaluating the sinker weight while ignoring bait and terminal tackle |
| Alternating between bait and lures | Establishing a realistic shared working range | Testing both presentations with the chosen reel and handle | Expecting one setup to cover two widely separated loads equally well |
Choose length for reach and handling
Length can help with reach and line management, but the useful question is what that extra reach accomplishes at the intended fishing position. Consider where the angler stands, how the line approaches the water, the available casting room, and how the rod will be carried between spots. Do not begin with a maximum-distance target and assume every other requirement will fall into place.
A longer rod also asks more of the angler’s movement and available space. For someone repeatedly working a lure, check how the outfit feels through the retrieve as well as the casting motion. For a bait setup, examine how easily the rod can be removed from its holder and brought into a comfortable working position. Neither assessment is captured by the overall length alone.
Compare assembled rods, when possible, instead of judging unbuilt blanks only by their measurements. A length that feels manageable with one handle and reel arrangement may be less comfortable with another. The decision should reflect repeatable control throughout the session, not just the impression created by a few movements in a shop.
Read power and action as separate characteristics
Power describes resistance to bending, while action describes where the bend develops under load. A fast-action designation does not mean that a rod has unlimited casting capacity, and a heavier power label is not a direct statement of the weight of fish it can lift. Keep those terms separate from the manufacturer’s casting and line recommendations.
For surf work, relate both characteristics to the presentation and the caster. Consider how the rod loads with the normal lure or baited rig, how it responds during the retrieve, and what the angler expects when the outfit is under pressure. A label narrows the discussion, but it cannot describe every difference between two blanks from different ranges.
Avoid choosing the stiffest-feeling option merely to allow for rough weather. If the regular tackle does not suit that blank, the angler may spend most sessions using an outfit selected for the exception rather than the norm. Where conditions require a substantially different load, a second setup may be a more honest answer than trying to stretch one rod beyond its intended role.
Settle the reel before finalizing the guide layout
Choose the reel arrangement early enough for it to influence the build. A spinning reel releases line from a fixed spool in coils, whereas a conventional reel delivers line from a rotating spool. Those different paths require different guide-layout considerations. Neither reel type makes a surf outfit automatically more powerful or better suited to every casting task.
On a spinning build, the actual spool geometry and position matter to the reduction section. Mount the intended reel rather than relying only on a size number or substituting whatever reel is available at the bench. On a conventional build, confirm how the line enters the guide train and behaves through the loaded blank. Use a layout approach appropriate to that reel type.
The distinction between reduction guides and running guides is covered in the explanation of Fuji guide systems. For a surf build, the practical requirement is to establish the reel, handle position, and selected guide family together before accepting final measurements.
Plan the leader before choosing small running guides
Describe the line arrangement as more than a breaking-strength number. Include the mainline material and diameter, leader material, connection knot, and where that connection will sit when preparing to cast. A short leader that stays outside the tip creates a different clearance requirement from a longer leader whose knot travels through the guides.
For heavy bait casting, distinguish an abrasion leader near the rig from a casting shock leader selected to handle casting forces. Do not assume a short section added for abrasion protection satisfies the latter job. Follow suitable line and tackle guidance for the complete rig and casting method rather than choosing a universal leader strength from the rod’s length alone.
Select running guides and the tip top around the connection that actually has to pass through them. Check a correctly tied example before committing to the smallest rings available. If clearance is inadequate, revisit the component choice or the properly specified line system. Do not remove a necessary leader merely to make an unsuitable guide arrangement appear to work.
Fit the handle for casting and retrieving
A surf handle must serve more than the moment the rod is held still. Position the reel and rear grip so the angler can use the intended casting motion without reaching awkwardly. Then check the retrieving position, including where the reel stem, locking hardware, and grip transitions meet the hand. A butt length that suits one person’s reach may interfere with another person’s clothing or movement.
Dry-fit the intended reel, seat, grips, and butt components before bonding them. For a bait rod, include the holder in the fit check where practical. Confirm that the handle enters and leaves it properly and that the reel and fittings remain clear. Do not alter a blank or force an oversized assembly into a holder simply because the pieces have already been purchased.
When selecting Fuji reel seats and matching handle parts through Anglers Resource, compare the actual dimensions and combinations required by the build. Evaluate grip texture and diameter with the intended use in mind, including wet hands or gloves where relevant. A familiar component model is a starting point, not proof that its position and proportions will suit every surf angler.
Choose guide geometry before premium finishes
Guide selection involves frame shape, height, ring dimensions, and the part each component plays in the layout. A visually similar ring does not make two frames interchangeable. Changing frame height can change the line path, while changing foot configuration affects how the component is mounted. These decisions should be settled before cosmetic matching becomes the main concern.
The Fuji guides available through Anglers Resource include LC Low Rider and KW double-foot designs, among other families. They illustrate why a guide should be identified by its complete design and specification, not simply described as a large or small ring. Use the guidance for the chosen system and application rather than mixing models solely because their ring-size labels form a convenient progression.
Consider saltwater exposure, expected handling, and the complete assembled weight when comparing material options. Neither a premium finish nor an anti-tangle frame removes the need for correct placement and line management. The useful upgrade is the one that meets an identified requirement within the build, not the most expensive option added without a clear purpose.
Use a surf rod guide spacing chart within its limits
A surf rod guide spacing chart is useful only when its reference setup is understood. Check the blank length and model where provided, the intended reel type, the guide family, and the point from which measurements are taken. Confirm whether positions are measured from the tip, butt, or another reference before transferring anything to the rod.
Do not enlarge an inshore layout by multiplying every gap to match a longer blank. That assumes the reel geometry, handle position, and distribution of bend have all changed in the same proportion. They have not necessarily done so. A different rear-grip length alone can change the relationship between the spool and first guide without changing the overall blank length.
Anglers Resource’s static load testing guidance specifically cautions that longer rods and surf rods may need different stripper-guide positioning from its standard-rod starting measurements. Use a suitable initial layout, then check the running guides against the individual blank’s bend. The chart organizes the first positions; it does not certify the completed surf setup.
Account for transport and sectional joints
A long surf outfit has to reach the water as well as perform there. Compare the longest packed section with the available vehicle space, rod case, and access route. Two rods with the same assembled length and number of sections can have different packed lengths, so do not assume that a two-piece description settles the transport question.
For a multi piece build, follow the blank manufacturer’s instructions for joint engagement. Keep joints free from sand and grit, and check that they are correctly seated and aligned before use. Do not force a joint to close a gap that may be intentional, and do not use the guide frames as handles to twist sections together or apart. Be sure to include appropriate ferrule wraps as reinforcements on the female ends of each ferrule, ensuring they do not crack under load
Check the rod after the cast as well as during it
A long cast is only one part of a surf session. Ask whether the completed rod lets the angler work the intended lure, retrieve the chosen rig, and hold a useful position as the line comes closer to shore. An outfit that feels impressive with a practice weight may be less comfortable when used repeatedly with the actual presentation.
Assess the mounted outfit rather than balancing the bare rod in isolation. Compare grip position, reach to the reel, and how much effort is needed to maintain the normal working angle. Do not automatically add weight to chase a particular balance point. First establish which part of the handling feels wrong and whether reel placement, component selection, or the underlying rod specification is responsible.
Avoid treating a surf rod as a lifting tool when a fish reaches the water’s edge. Follow the rod maker’s handling guidance and use a suitable landing method for the location. A setup intended to cast a particular load or fish a particular line does not gain permission to lift a comparable weight vertically from those ratings.
Test the completed combination in stages
Keep the initial guide positions adjustable while carrying out appropriate bench checks on a sound blank. Confirm the handle and reel position, the line path, and the leader connection before permanent wrapping. Any change to the reel, guide family, or handle arrangement should prompt another review of the affected parts rather than being accepted because an earlier version passed.
After the rod has been assembled and the adhesives and finishes have cured as directed, evaluate it with representative loads within the manufacturer’s limits. Use suitable practice weights without exposed hooks for land-based casting checks in a clear area. Observe line flow and check for interference. Do not use an overloaded cast as a way to find the rod’s limit, and stop to investigate a connection catching at a guide rather than trying to force it through.
Compare more than the farthest cast. Note consistency, comfort, line behavior, and how the rod handles the usual presentations. Use those observations when agreeing on the finished setup with the angler. There is more value in a combination that works predictably across its intended use than in one exceptional result achieved under conditions that will rarely be repeated.
Make salt and sand care part of the setup
Choose a routine that keeps the rod and reel from being laid directly in sand, and use the manufacturer’s cleaning instructions after exposure. Pay attention to the seat threads, guide feet, tip top, and sectional joints. Allow the outfit and its storage equipment to dry appropriately before putting them away, rather than sealing moisture inside a bag or case.
During a session, check the line path before casting, especially after moving the rod or dealing with a tangle. Clear weed or debris rather than pulling it forcibly through the tip. Corrosion-resistant materials can be useful, but they do not make a finished rod maintenance-free or protect it from every impact. The equipment still needs inspection after a knock or an unexpected change in behavior.
Build around the fishing you actually do
A useful surf rod setup brings the regular casting load, blank, reel, leader, handle, and guide train into agreement. Start with the presentation and conditions, then test the choices together. There is no single length, action, ring size, or spacing pattern that replaces those decisions for every beach and angler.
For custom builders, the most valuable specification is the one that describes how the rod will be used and what the owner expects it to handle. For anglers, that means being clear about the tackle used most often rather than asking one rod to cover every possible situation. A well-defined compromise is better than an untested claim of all-purpose performance.
Builders and specialty shops evaluating Fuji components can discuss model fit and purchasing requirements with Anglers Resource. Complete the setup around the angler’s actual work, then judge it by comfortable, controlled fishing throughout the session, not by length, price, or casting distance alone.