Building custom fishing rods is an intricate craft that requires precision, patience, and the right set of tools. Each tool in a rod building toolbox plays a crucial role in ensuring that the final product is not only functional but also aesthetically pleasing. From the initial wrapping of guides to the final application of epoxy, every step of the rod-building process demands attention to detail and the use of specialized equipment.
This article will explore the essential tools needed for rod building, including rod wrappers, dryers, sanding tools, reamers, burnishing tools, measuring instruments, cutting tools, mixing cups and sticks, protective equipment, spine finders, lighting and magnification tools, heat sources, and reference materials. Understanding the purpose and use of each tool will help both novice and experienced builders achieve professional-quality results in their custom rod projects.
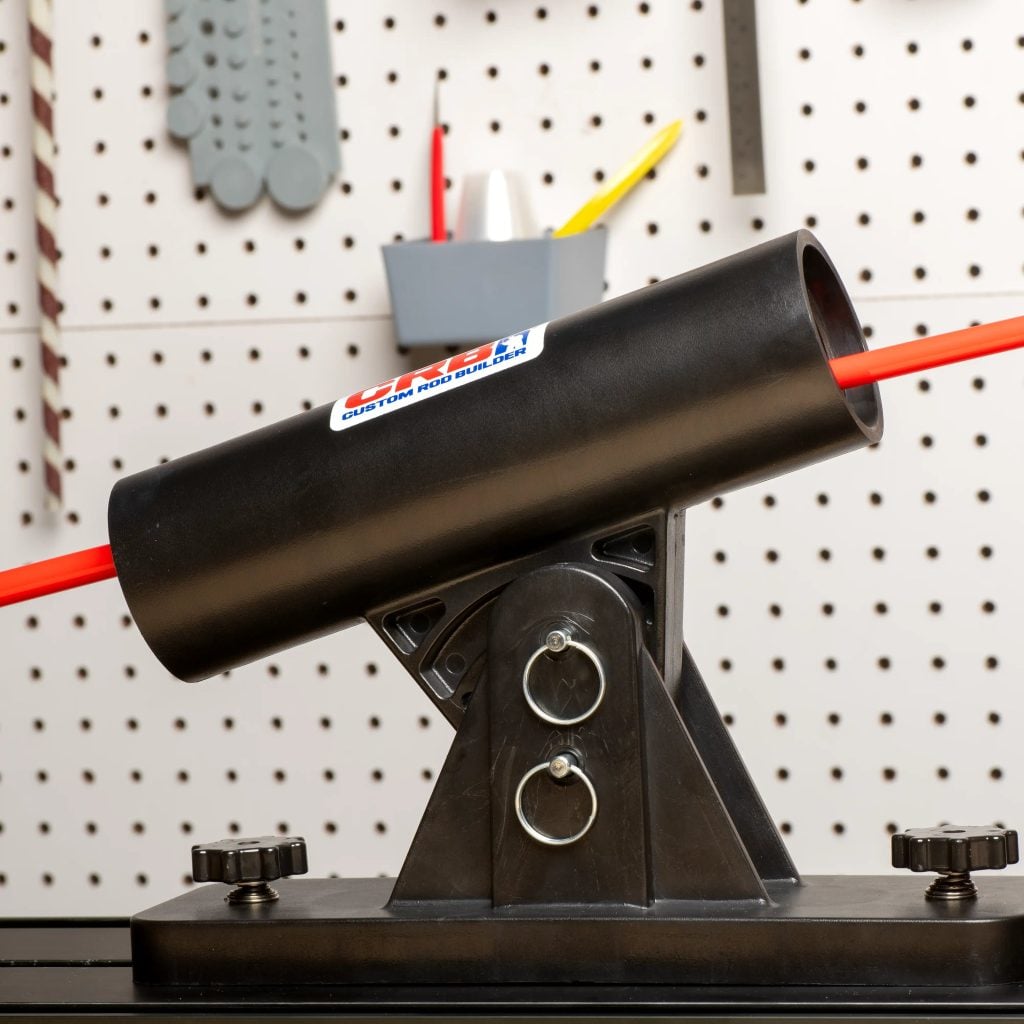
Rod Wrapper
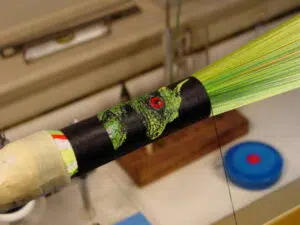
A rod wrapper is a specialized tool crucial for building custom fishing rods. It holds the rod blank securely, allowing the builder to rotate the blank while wrapping the guides with thread. This tool is essential for ensuring that the thread wraps are tight, even, and neatly aligned, which is vital for the rod’s performance and durability.
Using a rod wrapper provides several benefits. It offers precision by maintaining even tension on the thread, ensuring that the guides are firmly secured to the rod blank. This precision is necessary for proper guide alignment and spacing. Additionally, a rod wrapper enhances efficiency by speeding up the wrapping process, making it less labor-intensive and more consistent compared to wrapping by hand. Moreover, it ensures that the finished wraps are professional-looking and durable, crucial for the rod’s overall performance and aesthetics.
Manual vs Motorized Rod Wrappers
There are two main types of rod wrappers: motorized and manual. Motorized rod wrappers come equipped with a motor that rotates the rod blank at a consistent speed, allowing the builder to focus solely on guiding the thread. The advantages of motorized wrappers include consistent rotation speed for uniform thread wraps, faster wrapping processes, and reduced physical effort, making the process more enjoyable. However, motorized wrappers are typically more expensive, require a power source, and may have a learning curve for mastering the controls.

On the other hand, manual rod wrappers rely on the builder to rotate the rod blank by hand while wrapping the thread. These wrappers offer greater control over the speed and tension of the wraps, which can be beneficial for intricate designs or delicate materials. They are generally more cost-effective and accessible for beginners or hobbyists, as well as being more compact and portable. However, manual wrappers require more physical effort and can be time-consuming, especially for larger projects, and maintaining consistent speed and tension can be challenging.
Rod Dryer
A rod dryer is another major tool on your workbench. This tool ensures that the epoxy evenly coats the thread wraps and guides, preventing drips and sags, which are common issues when the rod is left stationary.
A rod dryer rotates the rod blank slowly and consistently, allowing the epoxy to spread evenly over the wraps. This uniform coating not only enhances the appearance of the rod but also protects the thread wraps and guides from damage, ensuring the rod’s longevity and performance.

Using a rod dryer also simplifies the curing process. Without a dryer, you would need to manually rotate the rod at regular intervals to prevent the epoxy from pooling or dripping, which can be time-consuming and impractical. The rod dryer automates this task, freeing you up to work on other parts of the rod or start new projects while the epoxy cures.
Sanding Tools
A wrapper and dryer are both expensive items that will take up a lot of space in your workstation. The rest of the tools in this list are smaller in price and size, but still loom large in importance.
Before you start building, you’ll need various sanding tools. Sandpaper of various grits, from coarse to fine, is used for shaping and finishing components like cork or EVA grips. A sanding block provides a flat and even surface for sanding, while sanding sponges are flexible and can conform to contoured surfaces, allowing for better control and smoother results. Needle files, which come in various shapes, are perfect for fine-tuning and fitting small components such as guides, reel seats, and ferrules. A Dremel tool is also handy to have, along with the various attachments they come with.
Cork Reamers
Reamers are crucial tools used to enlarge and shape the inside diameter of grips, reel seats, and other cylindrical components to ensure they fit perfectly onto the rod blank. This precise fit is essential for the stability and performance of the rod, preventing the handle from shifting or rotating during use. Reamers also help create smooth, even interior surfaces, contributing to a professional-looking finish and high-quality craftsmanship. By ensuring that grips and reel seats are securely attached, reamers enhance the rod’s durability and functionality, reducing the risk of components coming loose or causing issues during casting and retrieving.

There are various types of reamers to suit different needs in the rod building process. Handheld reamers offer great control and precision for fine-tuning the fit of components, while rotary reamers, used with power drills or Dremel tools, provide efficiency for larger projects. Adjustable reamers are versatile for different rod blank sizes. Using a reamer involves selecting the appropriate size, gradually removing material, and frequently test fitting to achieve the perfect fit.
Burnishing Tools
Burnishing tools are essential to ensure that thread wraps securing the guides to the rod blank are smooth, tight, and visually appealing. These tools help flatten and smooth out thread wraps, removing any gaps or irregularities, which is crucial for both the functionality and aesthetics of the finished rod. By using burnishing tools, you can increase thread tension, making the wraps tighter and more secure, thus enhancing the rod’s durability and performance. Smooth and even wraps allow for better epoxy adhesion, ensuring the epoxy coats evenly and penetrates the threads properly, leading to a more durable finish.
Burnishing tools come in various forms, including metal, plastic, or bone, each offering different advantages. Metal burnishers are durable and provide a hard surface for even pressure, plastic burnishers are gentler on the thread and rod blank, and bone burnishers offer a traditional, effective option. Regardless of the type, these tools help align threads perfectly, increase thread tension, and eliminate imperfections, resulting in a professional-looking finish.
Measuring Tools (ruler, calipers)
Measuring tools such as rulers and calipers are essential in a rod building toolbox because they ensure precision and accuracy in constructing custom fishing rods. These tools help you measure various components and materials, guaranteeing that everything fits together perfectly and functions as intended. Rulers are used to measure lengths and distances on the rod blank and components, determine the correct placement of guides, and ensure the rod’s overall length meets design specifications. Calipers, on the other hand, measure the internal and external diameters of components such as grips, reel seats, and the rod blank itself. This precision is crucial for ensuring a snug fit between components, preventing issues like loose or tight fittings.
The importance of these tools lies in their ability to provide consistent and accurate measurements, which are vital for the rod’s structural integrity and performance. Proper placement of guides and reel seats, achieved through precise measurements, ensures the rod bends and flexes correctly under load, optimizing casting and fighting capabilities. Additionally, accurate measurements allow for customization and necessary adjustments to components, ensuring a tailored fit that meets specific requirements.
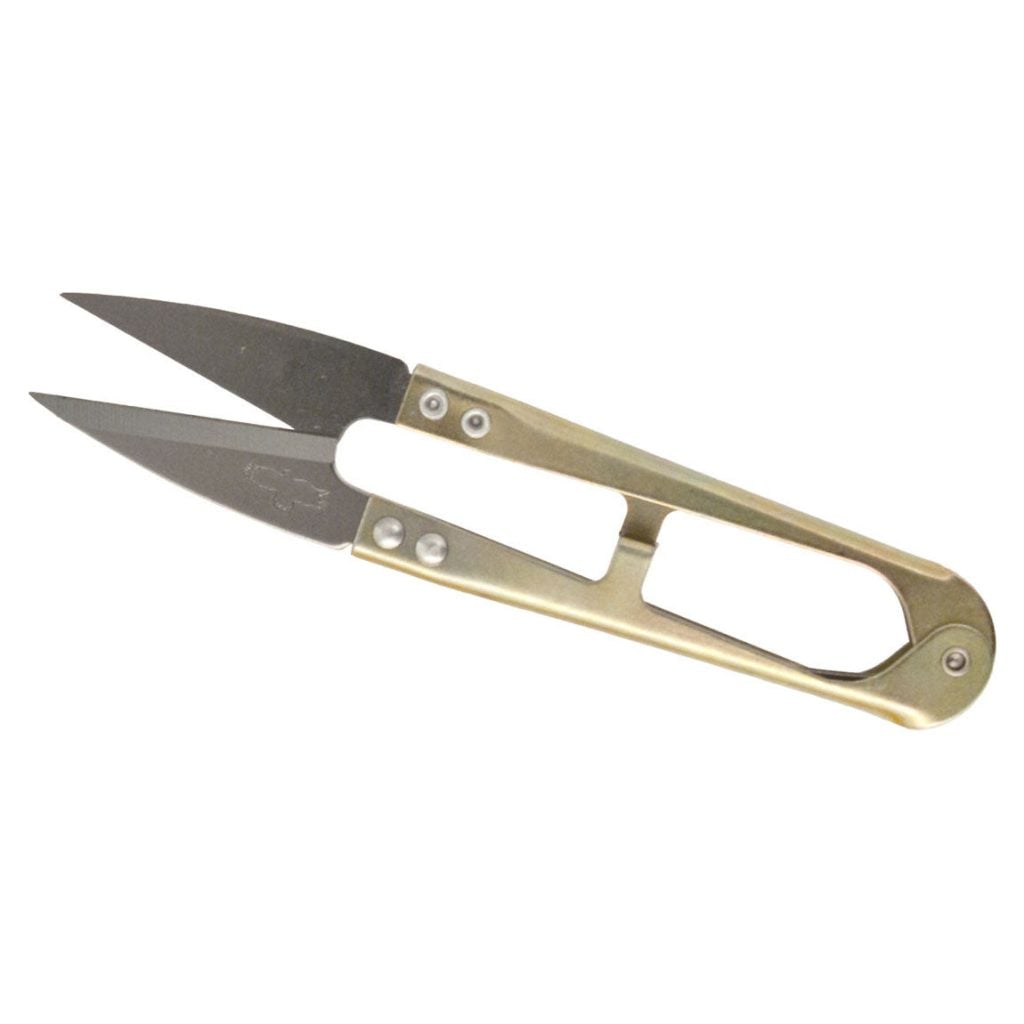
Razor blades, Scissors, and Other Cutting Tools
Now we’re getting into the really small stuff in a rod building toolbox. Every crafting art requires cutting tools, and rod building is no different. You’ll need a variety of sharp, precision cutting tools within handy reach on your rod building bench.
Razor blades are indispensable for trimming thread flush with wraps, cutting excess epoxy, and making fine adjustments to guides and components. Their sharpness and thin profile allow for precise cuts, preventing fraying and ensuring a professional finish. Scissors, on the other hand, are versatile tools used to cut thread to length during the wrapping process, trim materials such as cork and EVA foam, and cut masking or electrical tape. High-quality scissors ensure clean cuts and prevent thread from unraveling.
Other cutting tools like hobby knives, wire cutters, and specialized trimming tools also play vital roles. Hobby knives are perfect for intricate cuts and fine details, such as trimming decals and making precise adjustments. Wire cutters are essential for cutting wire guides and other metal components, providing the necessary strength for clean cuts. Specialized trimming tools, such as thread nippers and flush cutters, are designed for specific tasks like trimming thread close to wraps or cutting small components flush with the rod blank.
Mixing Cups and Sticks
In addition to cutting tools and sanding implements, you’ll also need tools for mixing epoxy in your rod building toolbox. The measurement markings on mixing cups ensure the correct ratio of resin to hardener, crucial for proper curing. Mixing sticks blend these components thoroughly, preventing uneven curing that could weaken the epoxy. These tools allow for precise and controlled application, avoiding excess epoxy and ensuring a smooth coat. Additionally, disposable mixing cups and sticks simplify clean-up, making them convenient for use on multiple rods.
Rod Building PPE
Rod building PPE (proper protective equipment) is essential for ensuring your safety and health during the rod building process. Safety glasses or goggles protect your eyes from dust, debris, and chemical splashes when sanding, cutting, or applying epoxy. A dust mask or respirator is necessary to shield your lungs from inhaling fine dust particles and fumes generated by sanding materials like cork or EVA foam, as well as from epoxy and other chemicals. Gloves, especially nitrile ones, protect your hands from cuts, abrasions, and chemical exposure, allowing you to handle epoxy and adhesives safely. Wearing long-sleeve shirts and aprons further protects your skin from chemical splashes and sharp objects, while hearing protection like earplugs or earmuffs prevents hearing damage when using noisy power tools.
Spine Finder
A spine finder is a specialized tool used in rod building to locate the spine, or “backbone,” of a rod blank, which is crucial for optimizing the rod’s performance. The spine is the natural curve or bend that occurs in the rod blank due to its manufacturing process. Identifying the spine ensures that the guides and reel seat are aligned along this natural flex point, providing consistent and predictable action.
This alignment enhances casting accuracy by reducing side-to-side wobbling or twisting, and it maximizes the rod’s strength and durability by distributing stress evenly, which reduces the risk of breaking under load. For custom rod builders, consistently finding and using the spine in each build ensures maximum performance out of each blank.
“Let there be light!” – Lenses and Lamps
Proper lighting is crucial for tasks like wrapping thread around guides and applying epoxy, as it reduces eye strain and improves efficiency. LED desk lamps provide bright, focused light that illuminates your workspace, making it easier to see what you’re doing. Magnifying lenses, such as headband magnifiers or magnifying lamps, allow you to closely inspect your work, ensuring thread wraps are even and guides are properly aligned. These tools are invaluable for tying intricate thread patterns, securing tiny guides, and inspecting finishes for imperfections.
Heat Source
Epoxy, used to secure thread wraps and guides, often requires heat to speed up the curing process and ensure a strong bond, particularly in cooler environments. Additionally, applying heat helps adjust the shape of guide feet to fit snugly against the rod blank, enhancing alignment and security. Heat also aids in removing air bubbles from epoxy, resulting in a smooth, clear, and professional finish.
Heat sources like heat guns, alcohol burners, and hair dryers are versatile and practical for these tasks. Heat guns provide controlled, adjustable heat suitable for curing epoxy, adjusting guide feet, and bubble removal. Alcohol burners offer a steady flame for precise heating of guide feet and epoxy finishes. Hair dryers, though less powerful, can effectively remove bubbles and cure epoxy faster for light tasks. Including a heat source in your rod building toolbox ensures that you can perform these essential tasks efficiently
Reference Materials
Last but definitely not least, your rod building toolbox should include an ever-growing library of reference materials. Reference materials are a crucial component of a rod building toolbox, offering essential guidance and instruction for both novice and experienced builders. For beginners, manuals, books, and instructional guides provide step-by-step directions on fundamental techniques such as selecting components, wrapping thread, applying epoxy, and aligning guides. These resources help new builders understand the basics, avoid common mistakes, and achieve smoother learning experiences. For more advanced builders, reference materials offer insights into complex techniques and methods, including tips from seasoned rod builders that refine skills and introduce innovative approaches to craftsmanship.
In addition to instructional value, reference materials serve as indispensable troubleshooting guides. They provide solutions for common problems encountered during the rod building process, such as uneven thread wraps, epoxy issues, and guide alignment difficulties. Having these resources on hand can save time and reduce frustration by offering immediate answers and advice. Detailed specifications for various components, such as guide sizes, blank measurements, and thread types, are also found in reference materials, ensuring compatibility and helping to build well-balanced, functional rods.
Furthermore, reference materials are a source of inspiration and design ideas, showcasing different styles and techniques that can spark creativity. Books, magazines, online forums, and tutorial videos offer a wealth of examples and current trends in rod building, motivating builders to experiment with new designs and customizations. Manufacturer’s guides provide detailed instructions and specifications for their products, ensuring optimal use and results. By including a variety of reference materials in your toolbox, you equip yourself with the knowledge and resources necessary to build high-quality, custom fishing rods with both precision and creativity.
Final Thoughts
In conclusion, assembling the perfect rod building toolbox involves selecting a range of specialized tools that each play a vital role in the rod building process. From the precision offered by a rod wrapper and the consistency provided by a rod dryer to the detailed work facilitated by sanding tools and reamers, every tool contributes to the overall quality and performance of the custom rod.
By carefully selecting and utilizing these tools, rod builders can create high-quality, durable, and aesthetically pleasing custom fishing rods, ensuring a rewarding and successful rod-building experience.